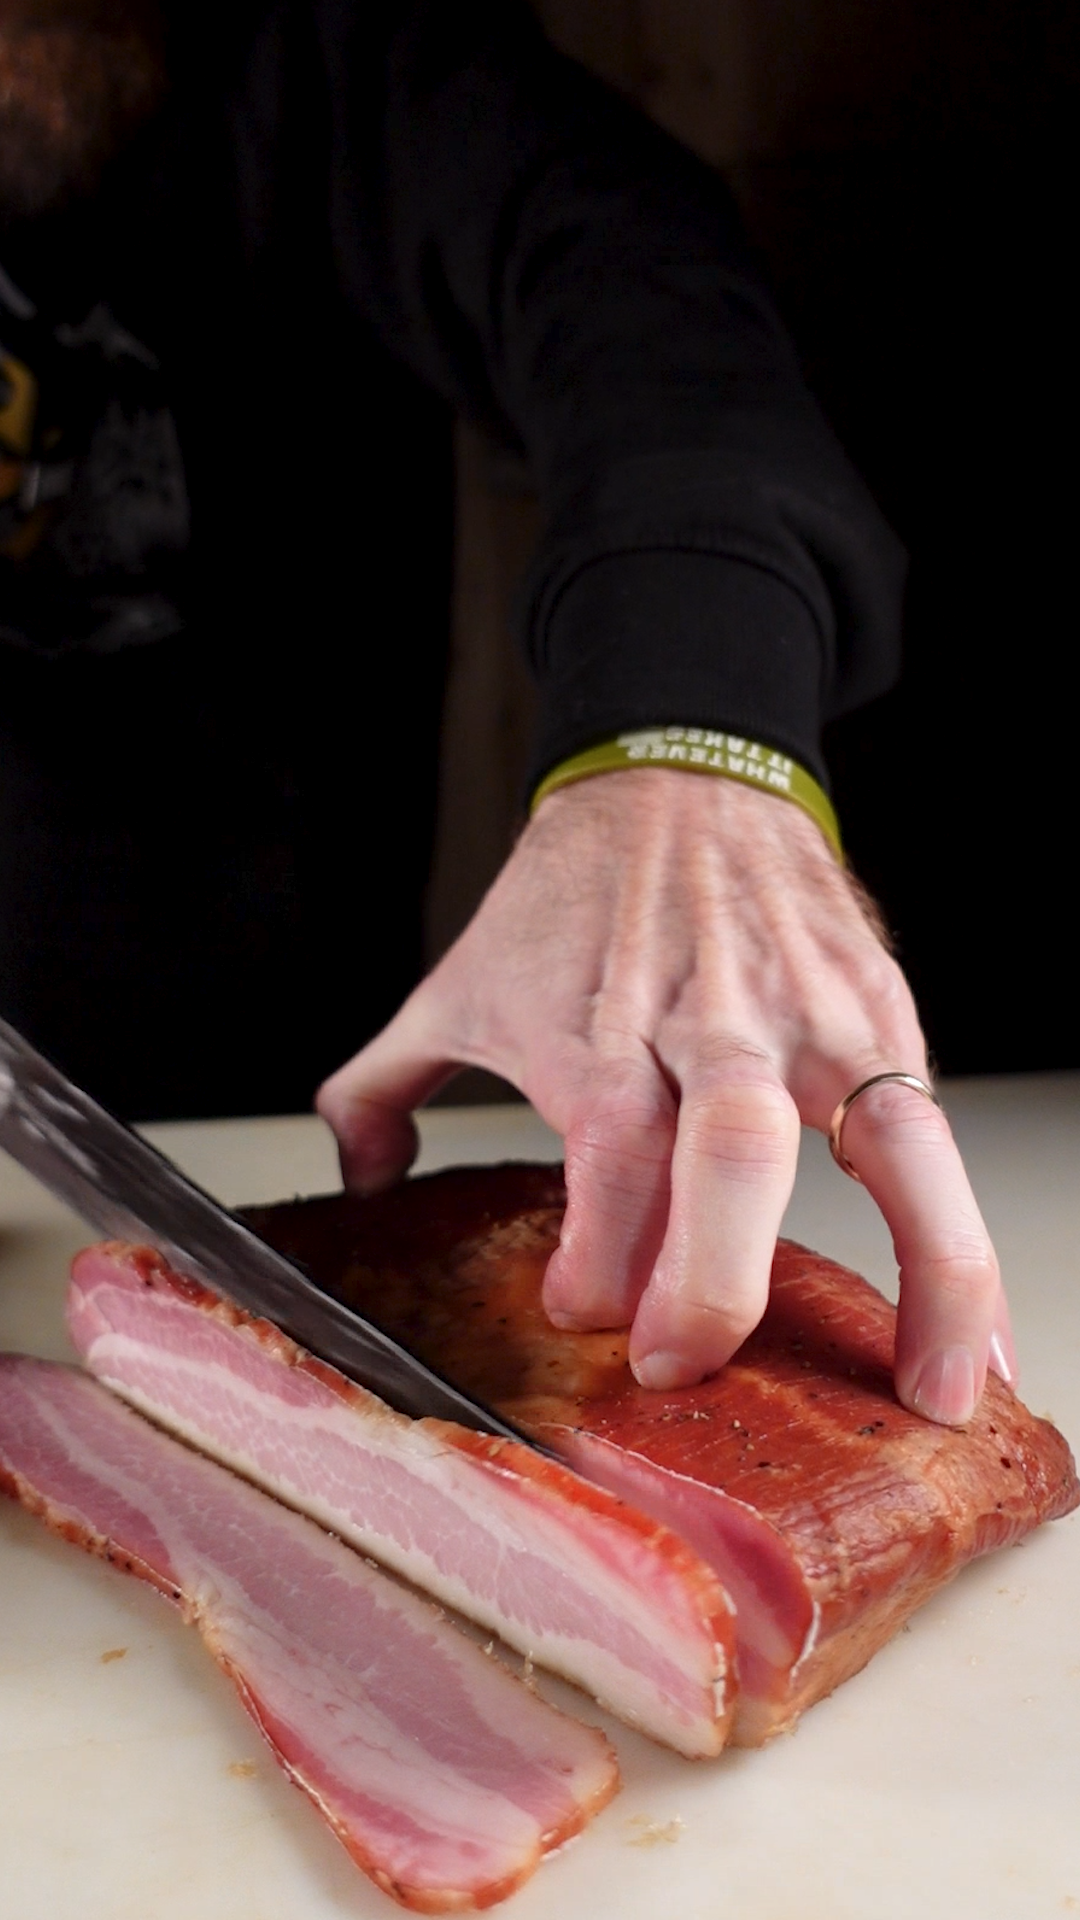
Easy Home-made bacon with Right way bbq! #rightwaybbq #bacon
**Ingredients:**
- 2 to 3 pounds of pork belly
- 1/4 cup kosher salt
- 1/4 cup brown sugar
- 2 tablespoons black pepper (coarsely ground)
- 1 teaspoon pink curing salt (optional, for color and preservation)
**Instructions:**
1. **Prepare the Pork Belly:**
- Start with a fresh, skinless pork belly. Rinse it under cold water and pat it dry with paper towels.
2. **Mix the Cure:**
- In a bowl, combine the kosher salt, brown sugar, black pepper, and pink curing salt (if using). Mix them together thoroughly to create the curing mixture.
3. **Apply the Cure:**
- Place the pork belly on a large tray or dish. Rub the curing mixture evenly over all sides of the pork belly, ensuring it's well-coated.
4. **Wrap and Refrigerate:**
- Place the pork belly in a large, resealable plastic bag or wrap it tightly in plastic wrap. Place it in the refrigerator and let it cure for 7-10 days, turning it every day to ensure even curing.
5. **Rinse and Dry:**
- After the curing period, remove the pork belly from the refrigerator and rinse off the curing mixture under cold water. If you want to remove more salt soak in water for 1 hour. Pat it dry with paper towels the best you can.
6. **Air-Dry:**
- Place the pork belly on a wire rack and let it air-dry in the refrigerator for at least 8 hours or overnight. This helps form a pellicle, a tacky layer on the surface that enhances smoke adhesion.
7. **Smoke the Bacon:**
- Preheat your smoker to around 200-225°F (93-107°C). Smoke the pork belly for 2-4 hours, or until it reaches an internal temperature of 150°F (65°C).
8. **Cool and Slice:**
- Allow the smoked bacon to cool to room temperature. Place it in the refrigerator for a few hours before slicing it thinly.
9. **Cook and Enjoy:**
- Cook the homemade bacon as you would any store-bought bacon. Fry it until it's crispy, and enjoy the delicious, smoky flavor!
Remember to adjust the curing time and smoking duration based on your preferences and equipment. Enjoy your homemade bacon!


0 comments